This Natural Salve Is Perfect for Cuts and Scrapes
You might think that a simple cut or scrape is just a minor inconvenience, but it can turn into a painful ordeal if not treated properly. Fortunately, there’s a natural salve that can transform your skin’s recovery process. By harnessing the power of natural ingredients, this salve not only soothes but also accelerates healing. Curious about how to whip up this healing miracle and what makes it so effective? Let’s explore the essentials.
Key Takeaways
- DIY healing salve utilizes natural ingredients that promote healing and reduce inflammation for effective treatment of cuts and scrapes.
- Essential components like beeswax and coconut oil create a protective barrier while deeply moisturizing the skin.
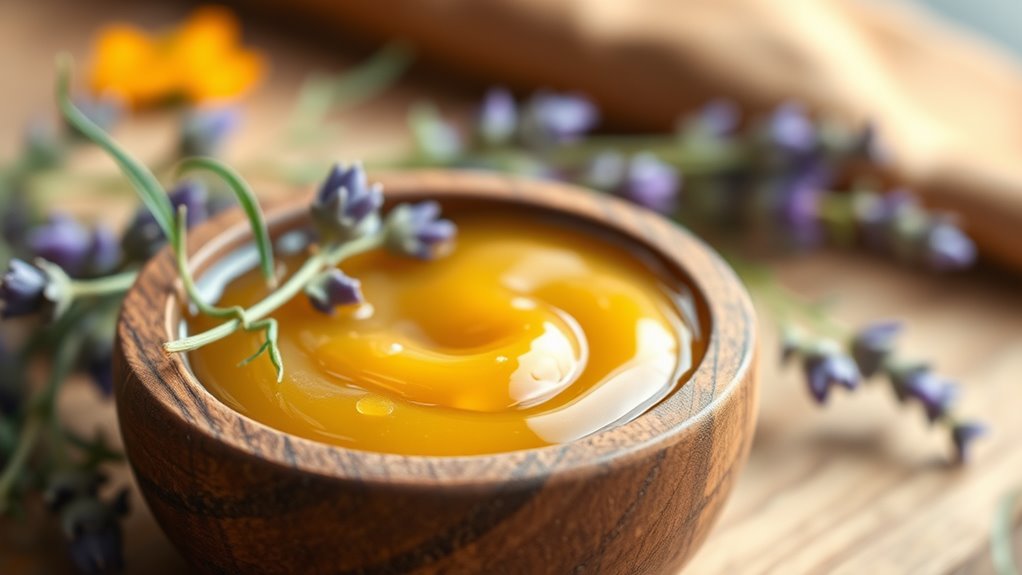
- Lavender oil’s soothing properties enhance the salve’s effectiveness in promoting skin recovery from minor injuries.
- Application involves cleaning the area, applying a thin layer of salve, and massaging it for better absorption.
- Store the salve in a cool, dark place to maintain its potency and extend its shelf life up to six months.
Benefits of Natural Ingredients for Skin Healing
When it comes to healing cuts and scrapes, natural ingredients offer a host of benefits that can speed up recovery and soothe your skin.
Using a DIY healing salve made from these ingredients can help reduce inflammation, promote healing, and prevent infection.
Create a DIY healing salve to reduce inflammation, promote healing, and protect against infection.
Natural elements like beeswax, coconut oil, and essential oils provide antibacterial properties while deeply moisturizing your skin.
They’re gentle and free from harsh chemicals, making them ideal for sensitive areas.
Plus, crafting your own salve allows you to customize it to suit your needs, ensuring your skin gets the best care possible during its healing journey. Additionally, including essential oils in your salve can enhance its antimicrobial effects, further supporting your skin’s recovery.
Essential Ingredients for Your Healing Salve
What makes a healing salve truly effective? The right blend of essential ingredients can speed up your skin’s recovery. Here’s a quick look at what you should include:
| Ingredient | Benefit |
|——————-|———————————-|
| Beeswax | Provides a protective barrier |
| Coconut Oil | Moisturizes and reduces inflammation |
| Lavender Oil | Soothes and promotes healing |
Incorporating herbal remedies into your salve can further enhance its healing properties.
Step-by-Step Guide to Making Your Salve
Creating your own healing salve is a rewarding process that can empower you to care for minor cuts and scrapes effectively.
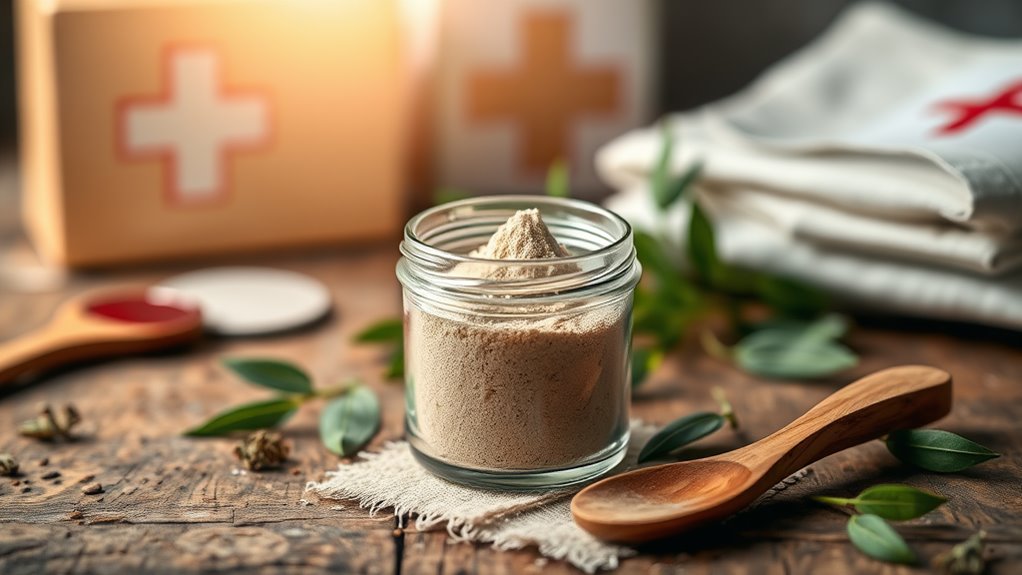
Start by gathering your essential ingredients: carrier oil, beeswax, and your chosen herbs.
Measure one cup of carrier oil and heat it gently in a double boiler. Once warm, add a quarter cup of beeswax and stir until melted. Incorporate your herbs and let the mixture steep for 30 minutes.
Strain out the herbs, then pour the mixture into clean containers. Allow it to cool completely before sealing.
Your homemade salve is now ready for use, providing natural relief for your skin! Additionally, consider using essential oils known for their healing properties to enhance the effectiveness of your salve.
Application Tips for Maximum Effectiveness
Now that you’ve made your healing salve, applying it correctly can enhance its effectiveness.
Start by cleaning the affected area gently with soap and water; this ensures you’re applying the salve on a clean surface.
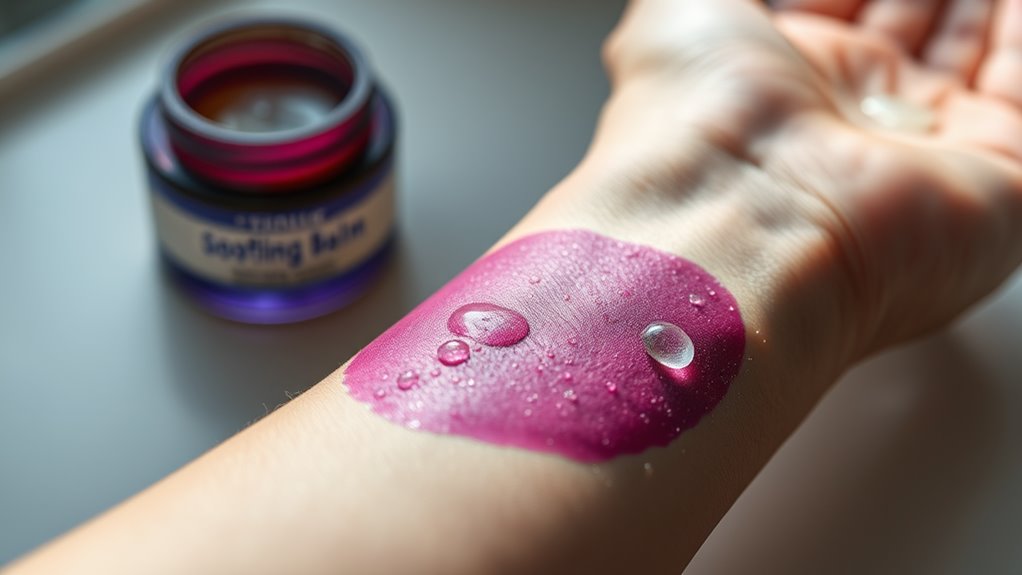
Use clean fingers or a sterile applicator to scoop a small amount of salve. Apply a thin layer directly to the cut or scrape, covering it completely.
For better absorption, massage it gently into the skin.
Reapply the salve two to three times a day, especially after washing.
Covering the area with a bandage can also help protect it and keep it moisturized. Additionally, using tea tree oil in your salve may boost its healing properties due to its antimicrobial power.
Storing and Preserving Your Salve
To ensure your healing salve remains effective, it’s essential to store and preserve it properly.
Proper storage and preservation are key to maintaining the effectiveness of your healing salve.
Keep your salve in a cool, dark place to protect it from heat and sunlight, which can degrade its quality.
Use airtight containers to prevent moisture and contaminants from spoiling the mixture.
Glass jars or metal tins work well for this purpose.
Remember to label your salve with the date you made it, so you can track its shelf life.
Generally, homemade salves last up to six months.
If you notice any changes in color, smell, or texture, it’s best to discard it for safety. Additionally, consider incorporating nourishing oils like coconut or sweet almond oil to enhance the salve’s hydrating properties.