Heal Cuts and Wounds Twice as Fast With This DIY Ointment!
When it comes to healing cuts and wounds, you want effective solutions that work. This DIY ointment combines natural ingredients that not only promote rapid recovery but also protect your skin. By using a few essential components, you can create a soothing barrier that locks in moisture and fights infection. Curious about how to make this healing remedy and the best ways to care for your wounds? Let’s explore the process together.
Essential Ingredients for Your DIY Ointment
When you’re ready to make your own ointment, knowing the essential ingredients is crucial. The right components can transform your homemade wound healing balm into a powerful remedy.
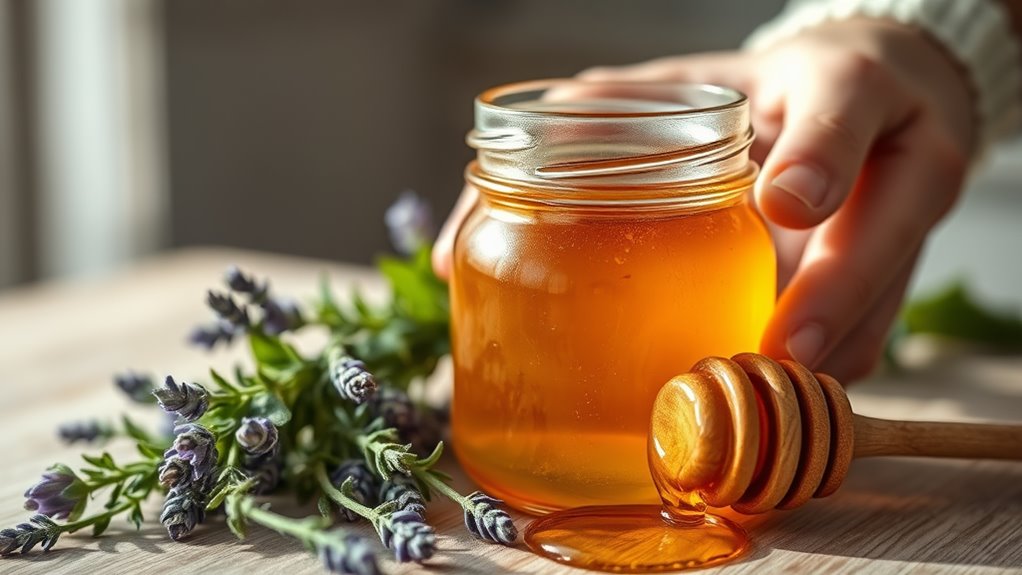
Start with a base like beeswax or coconut oil, which provides a protective barrier while keeping the skin moisturized. Next, consider adding nourishing oils such as olive or jojoba oil, both of which help to promote healing.
Don’t forget about the magic of essential oils! Lavender and tea tree oil are excellent choices for their soothing and antimicrobial properties. They not only smell wonderful but also enhance your balm’s effectiveness.
Lastly, think about including natural additives like vitamin E, which protects the skin and improves healing. Additionally, using antibacterial and anti-inflammatory ingredients can significantly enhance the healing properties of your ointment.
Step-by-Step Instructions for Making the Ointment
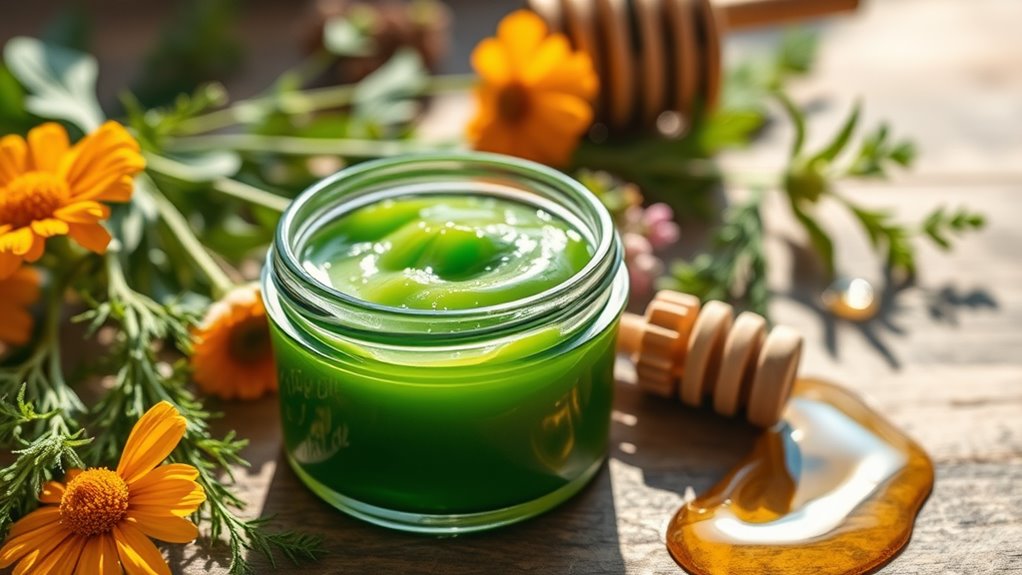
Making your DIY ointment is a straightforward process that can be completed in just a few easy steps. First, gather your essential ingredients: beeswax, coconut oil, and any healing herbs or essential oils you’d like to include.
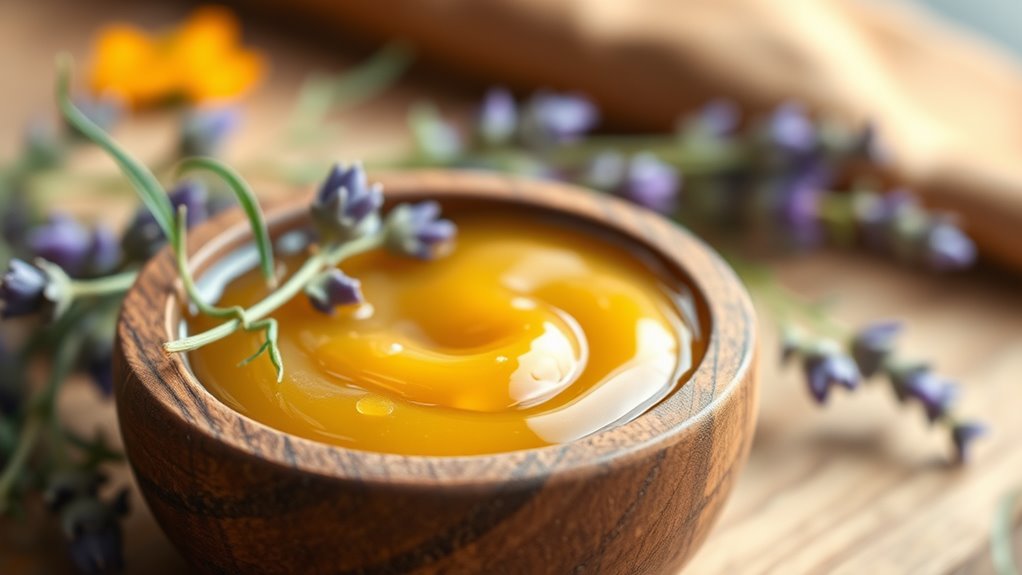
Next, start by melting the beeswax and coconut oil together in a double boiler over low heat. This gentle method ensures your ingredients mix well without burning.
Once melted, remove from heat and stir in your chosen herbs or essential oils, allowing their healing properties to infuse. Herbal remedies are known to enhance the wound healing process, making your ointment even more effective. Pour the mixture into small containers or tins and let it cool completely.
You’ll find that this process not only strengthens your sense of community but also empowers you to take charge of your health.
With your DIY ointment ready, you’re now equipped to care for those pesky cuts and wounds with confidence. Enjoy the healing journey ahead!
Tips for Effective Wound Care and Healing
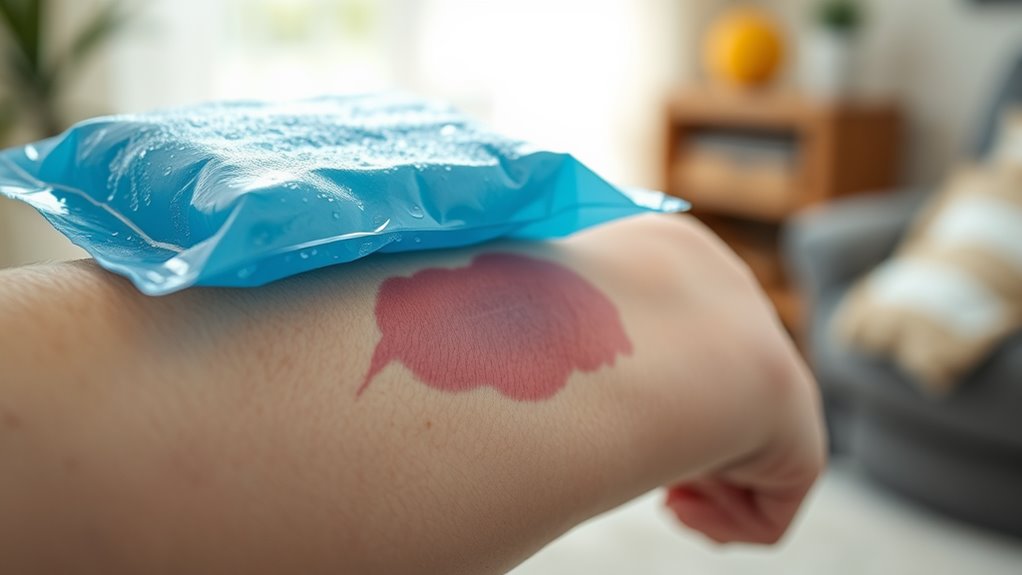
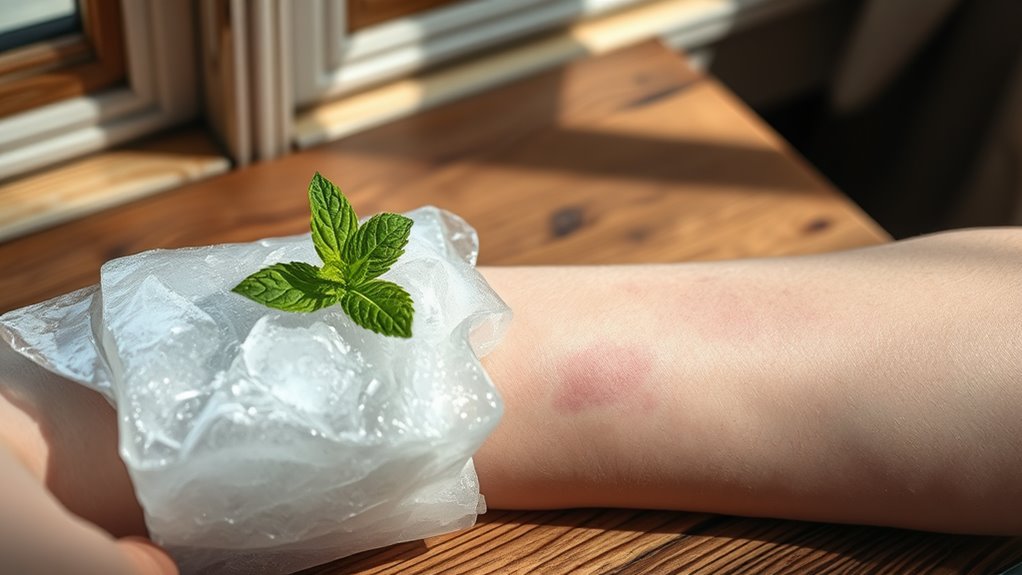
Effective wound care is essential for promoting healing and preventing infection, so it’s important to follow a few key steps. Start by cleaning your wound gently with soap and water. Apply your DIY ointment generously, ensuring it covers the entire area. Keep the wound covered with a sterile bandage to protect it from dirt and bacteria. Additionally, incorporating certain nutrients into your diet can enhance your body’s natural healing processes, such as dietary recommendations.
Here’s a quick reference to guide your care:
| Step | Action | Purpose |
|---|---|---|
| Clean the wound | Use soap and water | Removes dirt and bacteria |
| Apply ointment | Generously cover the area | Promotes healing |
| Cover with bandage | Use a sterile bandage | Protects from infection |
| Change regularly | Replace as needed | Keeps the wound clean and dry |