Thicker Hair Is Just One DIY Oil Away!
Thicker hair is just one DIY oil away! By using natural ingredients like castor and rosemary oils, you can nourish and strengthen your locks without harmful chemicals. A soothing scalp massage with these oils boosts circulation, encouraging growth and reducing breakage. Regular application can lead to bouncier, fuller hair and improved overall health. Stay consistent with your routine, and soon you’ll notice results. Curious about how to create your perfect blend? There’s more to discover ahead!
Key Takeaways
- Create a personalized oil blend using nourishing ingredients like castor and coconut oil for optimal thickness and strength.
- Consistent application and scalp massage enhance blood circulation, promoting healthier and thicker hair growth.
- Utilize natural ingredients like rosemary and aloe vera, known for their properties to stimulate hair follicles and improve scalp health.
- Track your progress over time, as changes in volume and texture can indicate the effectiveness of your DIY hair oil.
- Be patient and committed, as noticeable results, like increased thickness, typically take several months to become visible.
The Benefits of DIY Hair Growth Oils
When you choose to create your own hair growth oil, you’re not just crafting a personal beauty product; you’re also unlocking a world of natural benefits tailored to your specific needs.
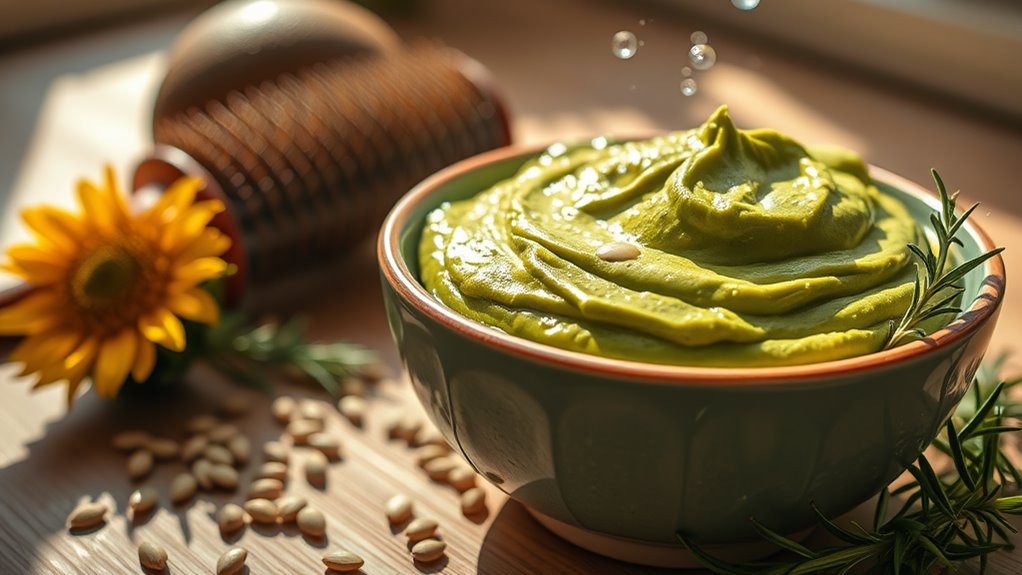
DIY natural hair growth oil allows you to customize ingredients that promote healthier and thicker hair. You can blend oils like jojoba and coconut, which nourish the scalp and strengthen hair follicles. This customization can also be enhanced by including biotin-rich ingredients that specifically target hair thickness.
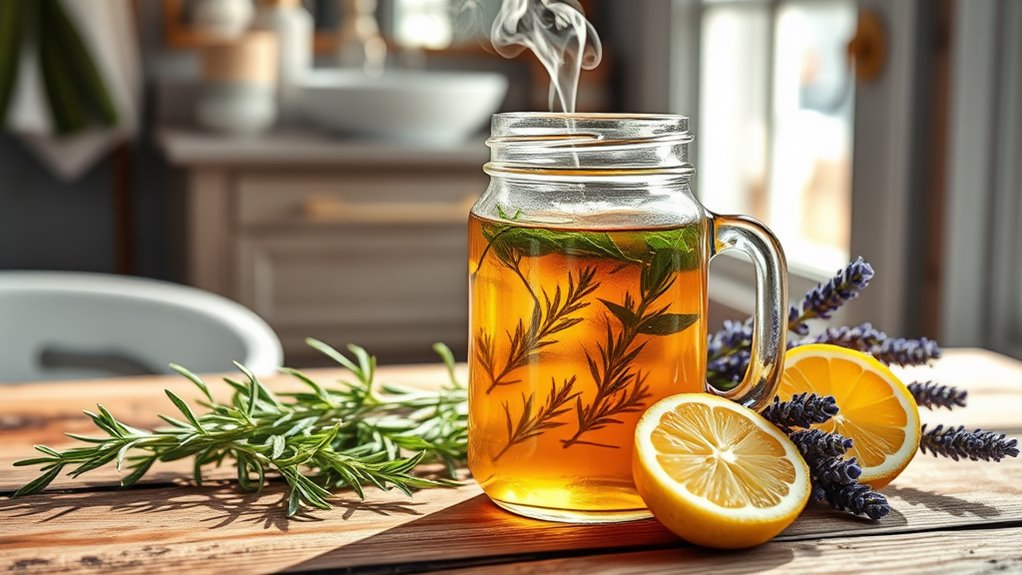
Unlike commercial options, your creation is free from synthetic chemicals and preservatives, reducing the risk of irritation. Plus, the process itself can be therapeutic, providing a moment of self-care. Additionally, incorporating essential oils such as rosemary and lavender can enhance blood flow and add a pleasant fragrance.
Best of all, you’re empowered to experiment and find what works best for you, transforming your hair care routine into a delightful ritual.
Key Ingredients for Thicker Hair
To achieve thicker hair, choosing the right blend of ingredients can make all the difference.
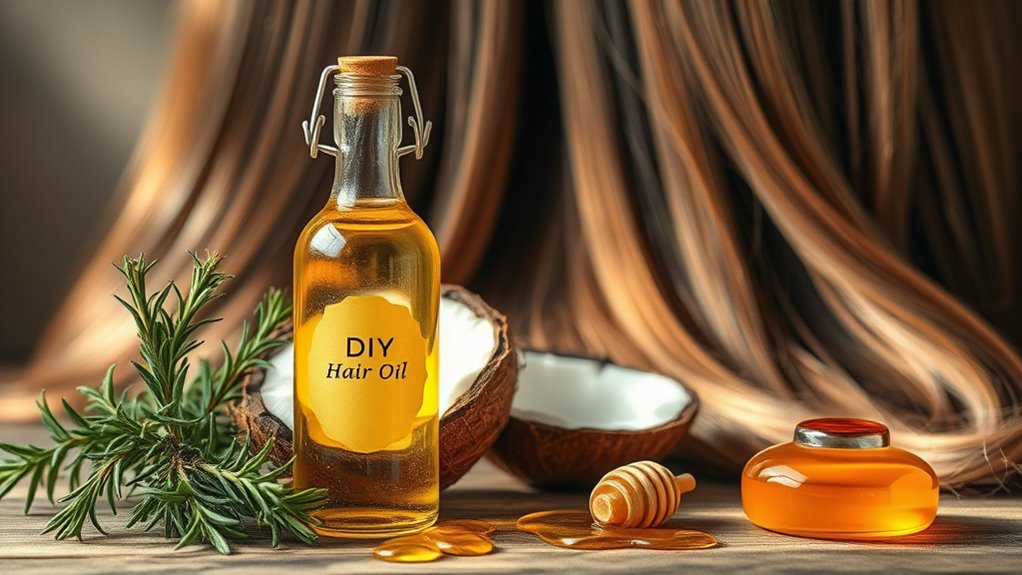
Consider incorporating oils such as castor oil, known for its rich fatty acids that nourish and strengthen your strands.
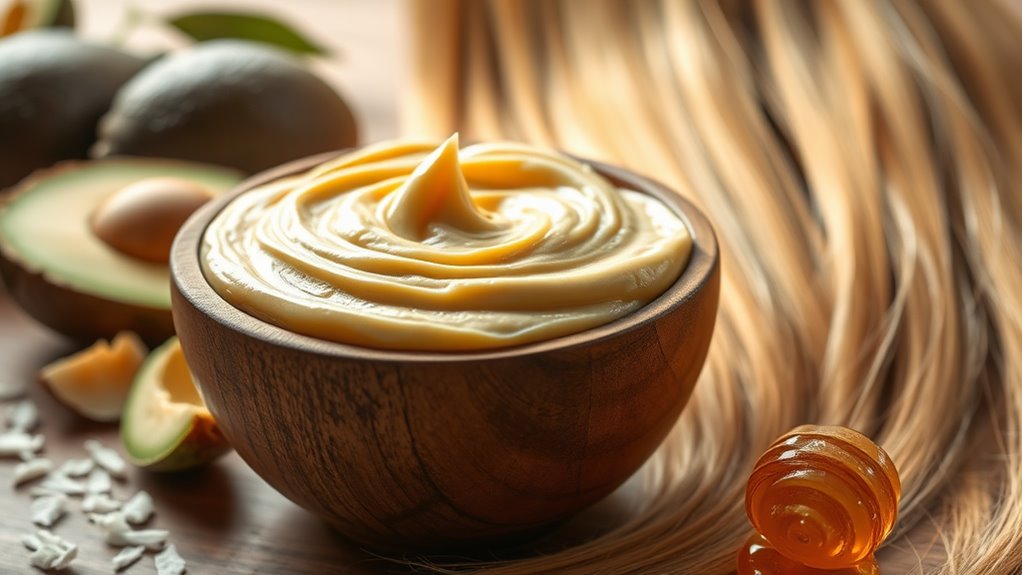
Coconut oil’s ability to penetrate hair shafts effectively helps reduce protein loss, ensuring healthier growth.
Jojoba oil mimics natural scalp oils, promoting hair moisturizing and balance.
Rosemary oil boosts circulation to your follicles, encouraging growth and thickness.
Finally, add a few drops of vitamin E oil, which protects your hair from environmental damage while fostering a shiny, voluminous appearance.
How to Prepare Your Hair Growth Oil
To create your hair growth oil, start by selecting the essential ingredients that promote thickness and nourishment.
Once you’ve mixed them well, knowing the right application techniques will help you maximize their benefits for your hair.
Finally, storing your oil properly ensures it stays potent and ready to rejuvenate your locks whenever you need it.
Essential Ingredients for Growth
As you dive into creating your own hair growth oil, knowing the essential ingredients is crucial for achieving thicker, healthier locks.
Each ingredient brings its unique benefits, maximizing your oil’s potency. Here are five must-have components:
-
Castor Oil: Rich in ricinoleic acid, it promotes circulation and boosts hair growth.
-
Coconut Oil: Deeply penetrates the hair shaft, preventing protein loss and keeping strands strong.
-
Rosemary Essential Oil: Stimulates hair follicles and enhances scalp health.
-
Jojoba Oil: Mimics natural oils, balances scalp moisture, and adds shine.
-
Peppermint Essential Oil: Increases blood flow, resulting in invigorated growth.
Incorporating these ingredients will set you on the path to fuller, luscious hair.
Happy blending!
Application Techniques for Best Results
Getting the most out of your DIY hair growth oil involves using the right application techniques. Start by warming the oil slightly—this opens up your pores and enhances absorption.
Section your hair into manageable parts, using a comb or your fingers, to ensure even distribution. Apply a small amount of oil to your scalp first, massaging it gently with your fingertips for about 5-10 minutes. This stimulates blood flow, promoting hair growth.
Afterward, work the oil through the lengths of your hair, focusing on the tips to prevent dryness. For added benefits, leave the oil on for at least an hour, or overnight for a deep treatment.
Rinse and shampoo as usual for healthy, thicker hair.
Storage Tips for Longevity
After applying your DIY hair growth oil, proper storage is key to maintaining its potency and effectiveness.
To ensure your oil stays fresh and retains its nourishing properties, follow these tips:
-
Use a dark glass bottle: Protects oils from light exposure, which can degrade their quality.
-
Store in a cool, dry place: Keeping it away from heat and humidity helps prevent spoilage.
-
Label your bottle: Note the date of creation to track its freshness.
-
Avoid plastic containers: They can leach harmful chemicals into your oil.
-
Seal tightly after each use: This prevents air from entering and affecting the oil’s integrity.
With these simple strategies, you can enjoy the benefits of your homemade concoction for longer, promoting healthy, thicker hair!
Application Methods for Maximum Effectiveness
To achieve the best results when applying your DIY oil for thicker hair, you’ll want to focus on a few effective techniques that enhance absorption and benefits.
Start by warming the oil slightly; this opens up your hair cuticles, allowing better penetration. Using your fingertips, gently massage the oil into your scalp in circular motions. This not only stimulates circulation but also promotes oil distribution along your strands.
Next, section your hair and apply the oil from the roots to the tips, ensuring even coverage. For an extra boost, consider wrapping your hair in a warm towel for 30 minutes, activating the oil’s potency. Incorporating essential ingredients like castor oil and rosemary oil can further enhance the effectiveness of your treatment.
Finally, rinse thoroughly to avoid excess buildup and reveal softer, thicker locks.
Tips for Incorporating the Oil Into Your Routine
Incorporating your DIY oil into your hair care routine can be a game-changer for achieving thicker, healthier hair. Start by adding it to your weekly regimen, ensuring you give your hair the nourishment it craves.
Here’s how to seamlessly integrate the oil:
-
Pre-shampoo treatment: Apply the oil on dry hair before washing to enhance moisture absorption.
-
Mix with conditioner: Blend a few drops into your favorite conditioner for an added boost.
-
Scalp massage: Use it during your scalp massages to promote blood circulation and hair growth.
-
Overnight treatment: Leave it in overnight for a deep conditioning effect, then wash out in the morning.
-
Styling aid: Use a small amount to tame frizz and add shine to your styled hair.
Expected Results and Timeline
As you begin your journey with DIY oil for thicker hair, it’s essential to set realistic expectations for what lies ahead.
Your hair growth timeline can vary based on several factors, including your hair type and the consistency of your routine.
Watch for signs of thickness, such as increased volume and healthier strands, to keep you motivated along the way.
Expected Hair Growth Timeline
While you may eagerly anticipate the results of your DIY oil for thicker hair, it’s important to understand the realistic growth timeline. Hair grows at an average rate of half an inch per month, but consistency with your oil treatment is key. You can expect noticeable changes in fullness within a few months, provided you stick to your regimen.
Here’s a rough timeline of what to expect:
-
1 Month: Initial improvements in scalp health.
-
3 Months: Subtle thickness begins to show.
-
6 Months: More significant volume increases.
-
9 Months: Defined changes in overall hair density.
-
1 Year: Full results are typically achieved.
Patience and commitment will lead you to the hair of your dreams!
Factors Influencing Results
To achieve the desired results from your DIY oil for thicker hair, you need to consider several factors that can influence the effectiveness of your regimen. Here’s a quick overview to keep in mind:
| Factor | Influence |
|---|---|
| Hair Type | Different types respond uniquely |
| Frequency of Use | Consistency enhances results |
| Oil Composition | Nutrient-rich oils yield better growth |
| Diet & Nutrition | A balanced diet boosts hair health |
| Stress Levels | Less stress promotes better growth |
Signs of Thicker Hair
When you embark on a journey to achieve thicker hair, recognizing the signs of progress is crucial.
You won’t just see results overnight, but small changes along the way can motivate you to keep going.
Look out for these signs:
-
Increased volume: Your hair feels fuller and bouncier.
-
Less breakage: Fewer split ends indicate stronger strands.
-
New growth: Tiny baby hairs suggest your scalp’s thriving.
-
Improved texture: Your hair may become softer and smoother.
-
Longer growth cycles: Strands might take longer to fall out.
As you continue your DIY oil treatments, keep monitoring these indicators.
With patience and persistence, thicker locks are within your reach!
Additional Natural Remedies for Hair Growth
If you’re seeking to enhance your hair growth beyond the benefits of DIY oils, you’ll find a treasure trove of natural remedies that can work wonders.
Consider incorporating aloe vera, known for its soothing properties and ability to condition the scalp. It promotes hair strength while preventing breakage and can also help nourish and repair the skin if used in combination with other ingredients.
You might also try using fenugreek seeds; their proteins and nicotinic acid can stimulate hair follicles.
Additionally, massaging your scalp with warm coconut oil increases blood circulation and nourishes hair from the roots.
Don’t overlook the power of onion juice; it’s rich in sulfur, promoting collagen production and aiding hair regeneration. Using natural DIY hair growth oil can further amplify these benefits.
Give these remedies a shot, and watch your hair flourish with health and vitality!