Make Your Own Chest Rub With These Safe Ingredients
Making your own chest rub with safe ingredients can be both simple and rewarding. Start with a carrier oil, like coconut or olive oil, and add essential oils such as peppermint and eucalyptus for soothing effects. Melt some beeswax to help solidify your blend. Mix, cool, and store it in a jar for easy access. Remember to test your blend on a small patch of skin first. Discover more about maximizing its effectiveness and alternative uses next!
Key Takeaways
- Use carrier oils like coconut or olive oil to dilute and nourish the skin while ensuring safety.
- Incorporate essential oils such as peppermint and eucalyptus for their soothing and calming effects on respiratory discomfort.
- Melt beeswax to create a solid consistency that forms a protective barrier on the skin.
- Always conduct a patch test to check for allergic reactions before applying the rub.
- Store your homemade chest rub in a labeled jar to maintain freshness and ensure easy access.
Benefits of Homemade Chest Rubs
When you choose to make your own chest rub, you’re not just opting for a soothing remedy; you’re also taking control of what goes on your skin. A DIY chest rub allows you to tailor ingredients to your preferences and needs, avoiding harsh chemicals often found in commercial products.
You can select natural components that suit your skin type and personal sensitivities. Additionally, creating a homemade rub can be more cost-effective, letting you save money while still providing relief.
Many people find that the process of making their own chest rub is therapeutic in itself, giving you a sense of accomplishment. Ultimately, a DIY chest rub empowers you to prioritize your well-being and enjoy a comforting, personalized remedy.
Essential Ingredients for Your Chest Rub
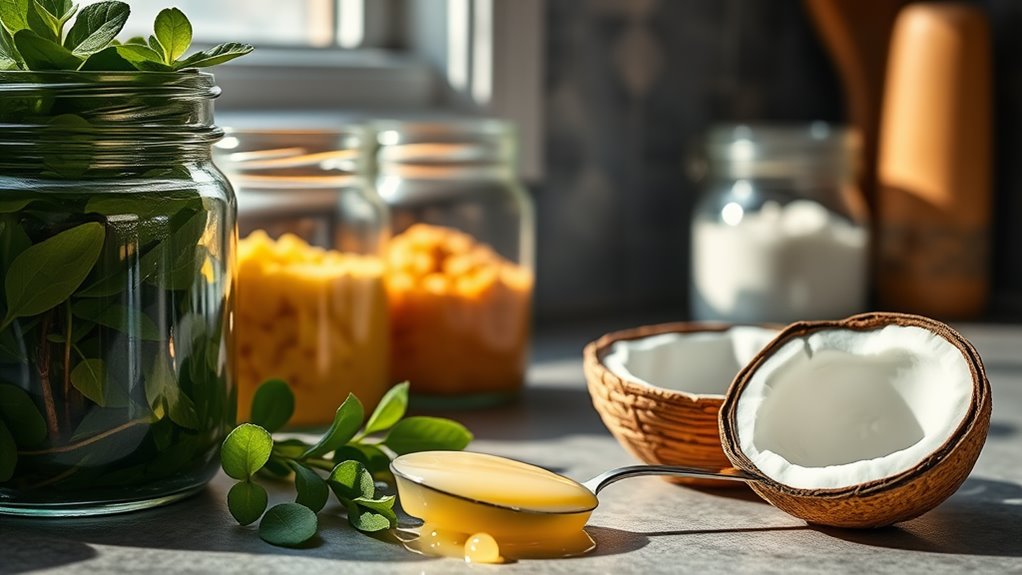
Creating your own chest rub requires a few essential ingredients that deliver soothing relief. You’ll want to gather these components to guarantee your rub is effective and safe:
-
Carrier Oil: Choose a base like coconut or olive oil to help dilute potent essential oils and nourish your skin. Additionally, warm olive oil has been shown to provide comforting effects for various ailments.
-
Essential Oils: Peppermint, eucalyptus, and lavender oils are popular for their soothing and calming properties. They work together to ease congestion and promote relaxation.
-
Beeswax: This natural ingredient helps solidify your rub and provides a protective barrier for your skin. Additionally, quality sleep is crucial for overall health and can be further enhanced by the calming effects of your chest rub.
Step-by-Step Guide to Making Your Chest Rub
Now that you have your essential ingredients ready, it’s time to mix them into a soothing chest rub. I’ll guide you through the simple steps to create a blend that’s both effective and easy to apply. Plus, I’ll share some tips on how to get the most out of your homemade rub.
Essential Ingredients Needed
Crafting your own chest rub is both simple and rewarding, especially when you know the essential ingredients to include.
To create an effective and soothing rub, gather the following:
- Carrier Oil: Coconut oil or olive oil is perfect for blending and moisturizing.
- Essential Oils: Choose eucalyptus, peppermint, or lavender for their soothing properties and pleasant aroma.
- Beeswax: This helps to thicken the rub and keeps it stable, making it easy to apply.
With these basic ingredients, you’re well on your way to making a chest rub that’s not only safe but also tailored to your preferences.
Mixing Instructions Explained
With your ingredients gathered, you’re ready to start mixing your chest rub.
First, take a small mixing bowl and add your base, such as coconut oil or shea butter. Melt it gently in a microwave or double boiler until it’s liquid.
Next, remove it from heat and let it cool slightly before adding your essential oils. Use about 10-15 drops of each oil, adjusting based on your preference. Stir well to guarantee everything is evenly mixed.
If you want a thicker consistency, let it cool further until it solidifies.
Finally, transfer your chest rub into a clean jar or container. Seal it tightly and label it for future use.
You’ve just created your own chest rub!
Application Tips Provided
Applying your homemade chest rub is simple and effective when you follow these easy steps. First, verify your hands are clean before applying the rub to avoid introducing any bacteria.
Here’s how to get the finest results:
-
Warm the rub: Rub it between your palms for a few seconds to make it easier to spread.
-
Apply generously: Use a good amount of the rub on your chest and back, avoiding sensitive areas like your eyes or broken skin.
-
Massage gently: Use circular motions to help the rub penetrate the skin and enhance absorption.
For ideal results, consider using the rub before bedtime to promote a soothing effect while you sleep.
Enjoy the comforting benefits of your homemade chest rub!
Tips for Choosing Quality Ingredients
When you set out to make your own chest rub, selecting high-quality ingredients can make all the difference in effectiveness and safety. Start by opting for organic essential oils like eucalyptus or peppermint, as they’re often purer and free from harmful additives. Check the labels for certification, ensuring your oils are 100% pure.
For your base, consider using organic coconut oil or shea butter; these natural options provide great moisture without synthetic chemicals. Pay attention to sourcing—local or small batch suppliers typically offer fresher and more potent products.
Finally, avoid any ingredients with artificial fragrances or preservatives; they can irritate sensitive skin. Trust your instincts and prioritize quality to create a chest rub that’s both safe and effective.
How to Store Your Homemade Chest Rub
To guarantee your homemade chest rub remains effective and safe, proper storage is essential. Here are a few key tips to keep in mind:
-
Use an airtight container****: This helps prevent moisture and air exposure, which can degrade the ingredients.
-
Store in a cool, dark place****: Heat and sunlight can alter the potency of the essential oils and other components.
-
Label and date your container: This way, you’ll easily track freshness and know when it’s time to make a new batch.
Application Methods for Maximum Effectiveness
For the best results with your homemade chest rub, it’s essential to know how and where to apply it effectively.
Start by taking a small amount of the rub and warming it between your palms; this enhances absorption. Then, apply it generously to your chest, focusing on the center and upper areas. This allows the soothing vapors to rise and provide relief.
You can also rub a little on your neck and the back of your ears to maximize the benefits. For added effectiveness, consider using it right before bed—this can help you breathe easier while you sleep.
Remember to wash your hands after application to avoid any irritation to your eyes or sensitive skin.
Happy rubbing!
Safety Precautions and Considerations
Although homemade chest rubs can provide soothing relief, it’s important to keep safety in mind to avoid potential adverse reactions.
Here are some key precautions to take into account:
-
Patch Test: Always perform a patch test on a small skin area to check for any allergic reactions before applying more broadly.
-
Age Appropriateness: Verify the ingredients are suitable for the age of the user, especially for children or sensitive individuals.
-
Consult with a Professional: If you’re pregnant, nursing, or have underlying health conditions, consult your healthcare provider before use.
Alternative Uses for Chest Rubs
Have you ever thought about the versatility of chest rubs beyond just relieving congestion? These soothing balms can do much more!
You can use them to ease sore muscles by massaging a small amount onto the affected area. If you’re feeling stressed, try applying chest rub on your temples; the calming scent can help you relax.
Chest rubs can also serve as a natural insect repellent, thanks to their strong aromas. Additionally, if you’re battling dry skin, consider using chest rubs as a moisturizer on rough patches.
Just remember to test a small area first to guarantee your skin reacts well. With these alternative uses, chest rubs can become a staple in your wellness toolkit.