Erase Stretch Marks Naturally With This DIY Cream!
If you’re looking for a natural way to reduce the appearance of stretch marks, this DIY cream might be just what you need. With a few simple, nourishing ingredients, you can create a moisturizing blend that not only improves skin elasticity but also promotes healing. Curious about how to whip up this effective cream and the best ways to apply it? Let’s explore the process together.
Understanding Stretch Marks
Stretch marks, often seen as unwelcome reminders of growth or change, are a common skin condition that occurs when the skin stretches rapidly due to factors like pregnancy, weight gain, or puberty.
You’re not alone in experiencing them; many people face this challenge. These marks can be a source of insecurity, but understanding them helps you embrace your body’s journey. To effectively address stretch marks, consider using natural ingredients that can nourish and repair your skin.
You might be looking for ways to reduce their appearance, and that’s where a homemade stretch mark remover can come into play. Creating your own formula gives you control over the ingredients and allows you to customize it to your skin’s needs.
Plus, going the DIY route can be a fun and rewarding experience, bringing a little joy into your self-care routine. Remember, you deserve to feel comfortable in your skin, and taking steps toward understanding and addressing stretch marks can help you on that path.
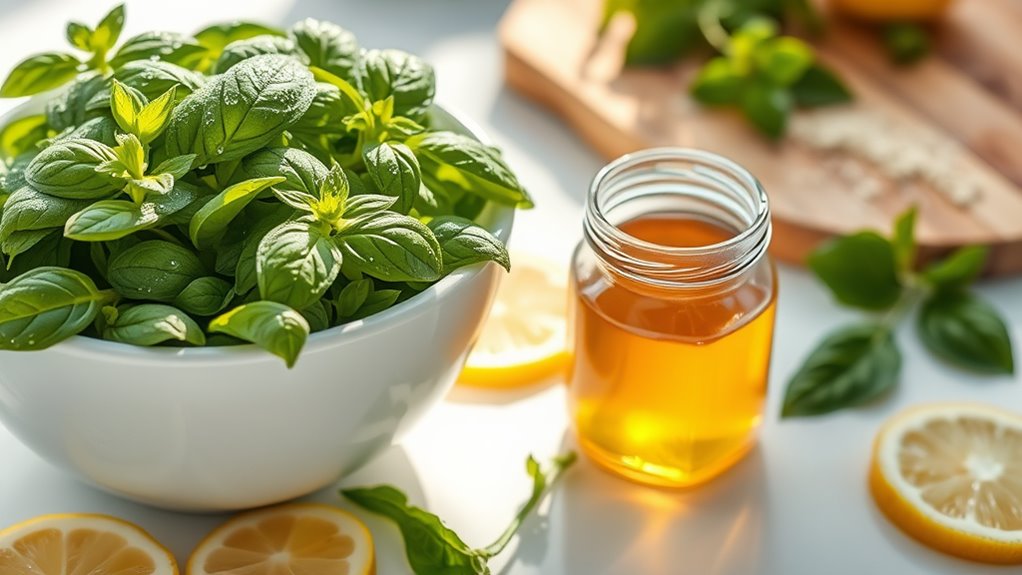
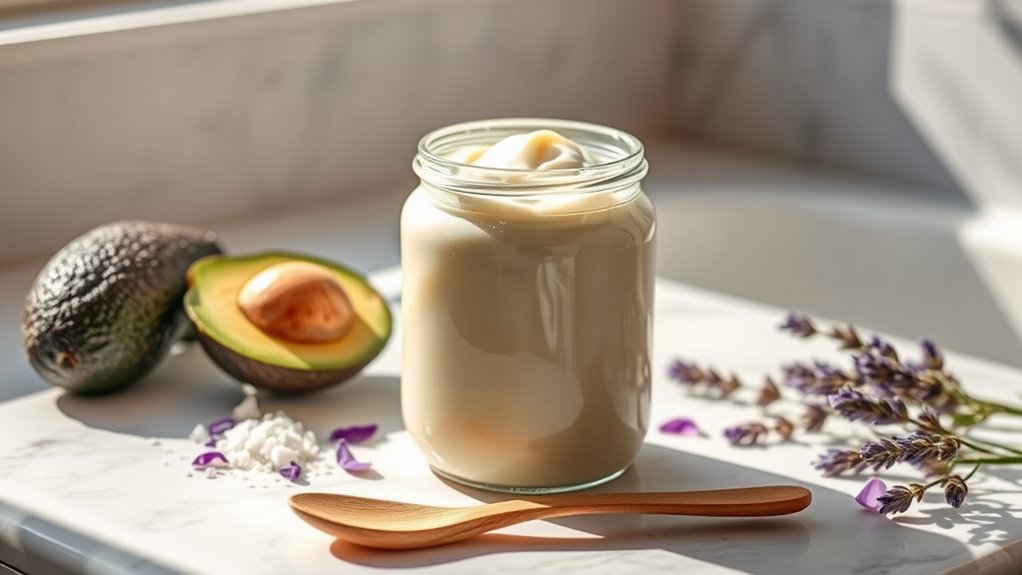
Ingredients for Your DIY Cream
Creating your own cream for stretch marks can be a simple and satisfying process, especially when you know the right ingredients to include.
To make your cream effective, consider these four key components:
-
Coconut Oil: Known for its moisturizing properties, it helps soothe the skin and improve elasticity.
-
Shea Butter: Rich in vitamins, it promotes healing and nourishes dry skin, making it soft and supple.
-
Vitamin E Oil: This antioxidant helps repair damaged skin and supports collagen production, which is essential for skin elasticity.
-
Essential Oils: Oils like lavender or frankincense not only provide a pleasant scent but also enhance skin healing and rejuvenation. Additionally, incorporating tea tree oil can provide antimicrobial benefits that may help prevent skin infections during the healing process.
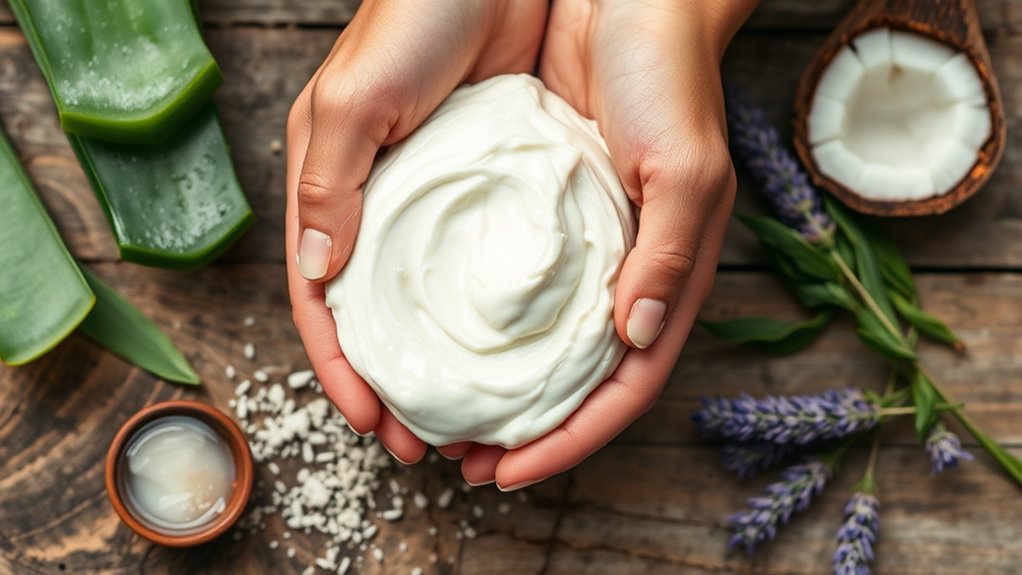
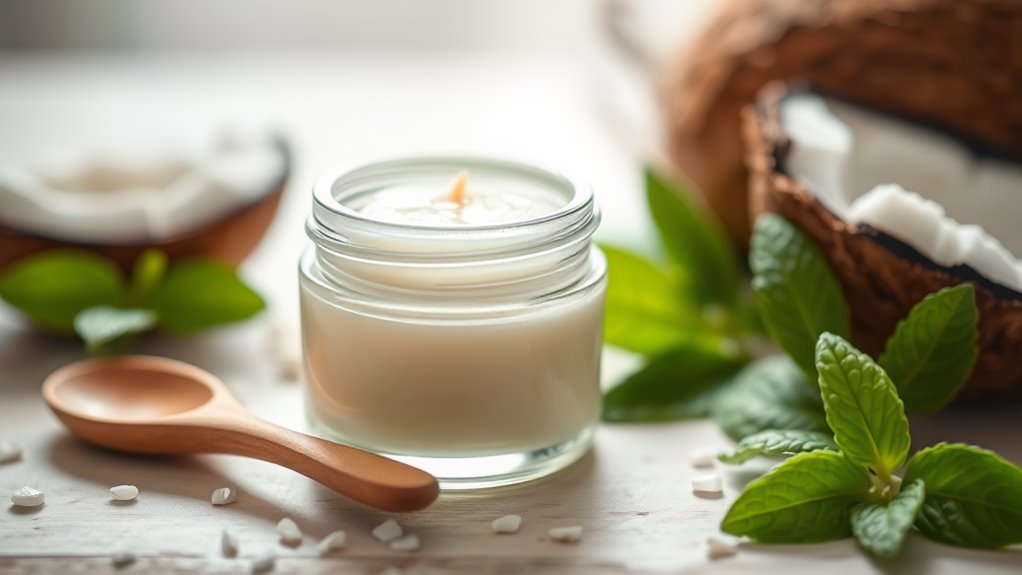
Step-by-Step Preparation
Now that you’ve gathered your ingredients, you’re ready to make your DIY cream for stretch marks. Follow these simple steps to create a nourishing blend that’ll help you feel more confident in your skin. Additionally, incorporating antioxidant-rich foods into your diet can further enhance the benefits of your natural remedy.
| Step | Action |
|---|---|
| 1 | Melt the coconut oil in a pan. |
| 2 | Add shea butter and stir until smooth. |
| 3 | Mix in the essential oils thoroughly. |
| 4 | Pour the mixture into a jar. |
| 5 | Let it cool and solidify. |
Once you’ve completed these steps, your cream will be ready to use! This process not only brings you closer to a natural remedy but also connects you with others who share your journey. Embrace this moment of self-care and enjoy the satisfaction of creating something just for you.
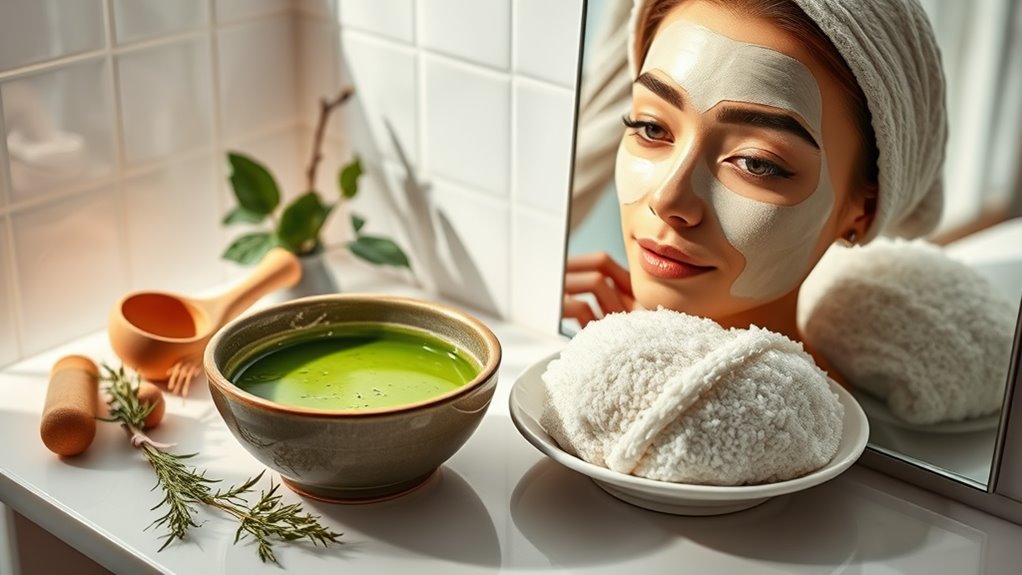
Application Techniques
While applying your DIY cream for stretch marks, it’s essential to use the right techniques to maximize its effectiveness. Here are some simple steps to guide you:
-
Clean the Area: Start with clean, dry skin. Gently cleanse the area where you’ll apply the cream to remove any dirt or oils.
-
Warm the Cream: Rub the cream between your hands to warm it slightly. This helps it absorb better into your skin.
-
Use Gentle Pressure: Apply the cream using circular motions. This not only feels good but also stimulates blood circulation, which can enhance the cream’s benefits.
-
Consistency is Key: Make it a routine! Apply the cream daily, preferably after a shower when your skin is most receptive.
Expected Results and Tips
After you’ve applied your DIY cream with the right techniques, it’s important to understand what results you can expect and how to maximize its effectiveness. You might notice a gradual fading of your stretch marks over time, especially if you stay consistent with your application. Remember, every body is unique, so results can vary.
To enhance your outcomes, pair the cream with a healthy diet rich in vitamins and hydration. Regular exfoliation can also help by removing dead skin cells and allowing better absorption of your cream. Additionally, incorporating instant kitchen remedies can provide immediate moisture restoration to your skin.
Don’t forget to be patient and kind to yourself—change takes time, and self-love is part of the journey.
Consider joining a community or group where you can share your experiences and tips with others on similar paths. Supporting each other can make this process feel less isolating and more empowering. You’ve got this!