The Secret DIY Serum That Erases Wrinkles Instantly!
If you’re looking for a way to rejuvenate your skin without breaking the bank, you might want to consider a DIY serum that promises to erase wrinkles. This powerful concoction combines key ingredients known for their skin-enhancing properties. Curious about what goes into this blend and how to apply it effectively? Let’s explore the essential components and techniques that could transform your skincare routine.
Essential Ingredients for Your Anti-Aging Serum
Creating an effective anti-aging serum starts with selecting the right ingredients. When you’re crafting your homemade anti-aging serum, think about incorporating powerful elements like hyaluronic acid, vitamin C, and essential oils.
Hyaluronic acid holds moisture, plumping your skin and giving it that youthful glow. Vitamin C brightens your complexion and fights free radicals, while essential oils like lavender or rose not only add fragrance but also provide nourishing benefits.
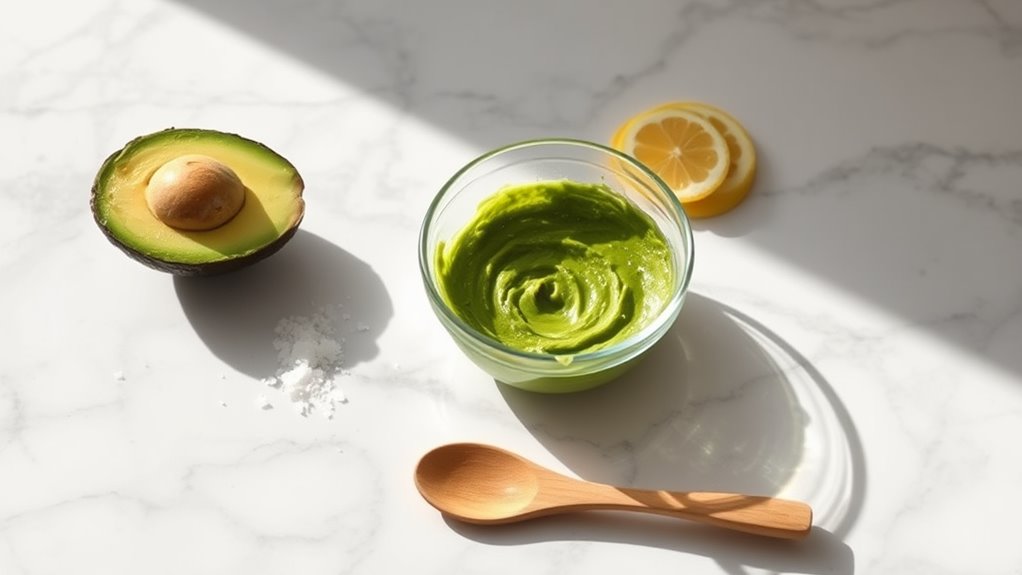
Don’t forget to include carrier oils like jojoba or argan oil, which hydrate and restore your skin’s elasticity. These ingredients work together to create a synergistic effect, promoting skin renewal and reducing the appearance of wrinkles. Additionally, incorporating natural antioxidants can further enhance your serum’s effectiveness against aging.
Step-by-Step Mixing Instructions
Now that you’ve gathered all your key ingredients, it’s time to mix them into your homemade anti-aging serum. Follow these simple steps to create a blend that feels just right for your skin:
-
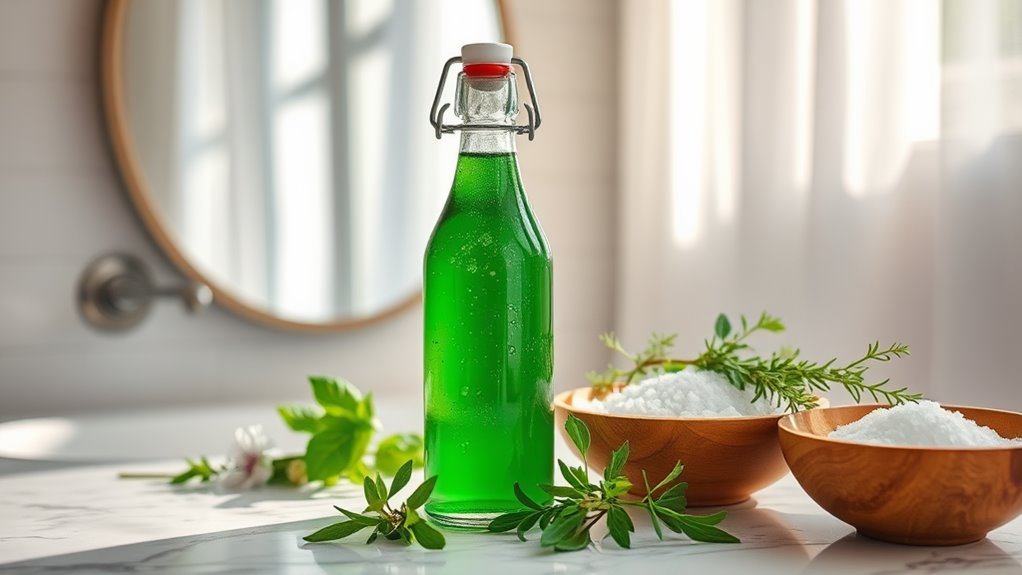
Combine the Base: In a clean glass bowl, pour in your carrier oil. This will nourish your skin and help the other ingredients absorb better.
-
Add Active Ingredients: Carefully mix in your chosen essential oils and any additional actives like hyaluronic acid. Stir gently but thoroughly to ensure an even distribution.
HEADER -
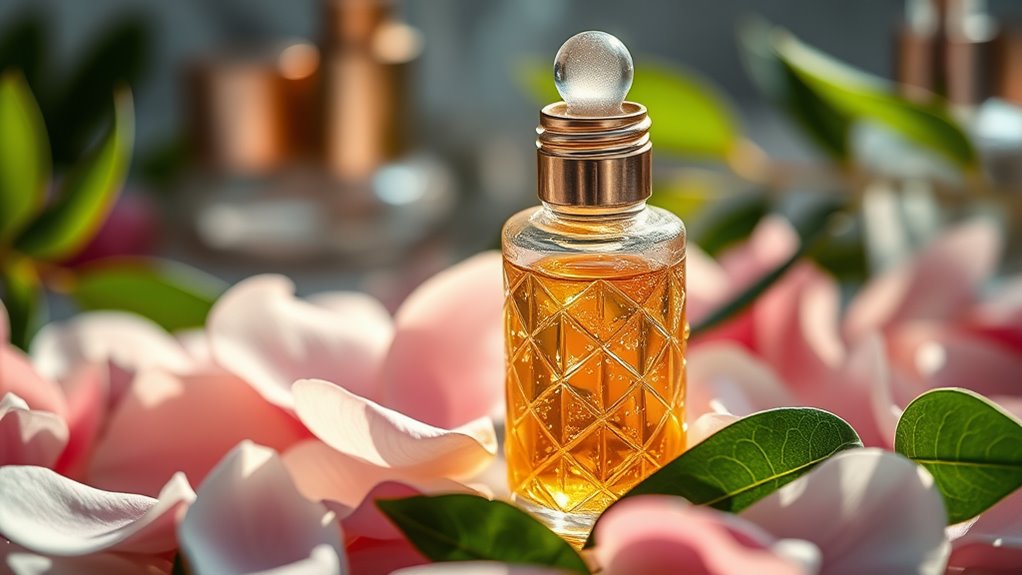
Bottle It Up: Once mixed, transfer your serum into a dark glass dropper bottle. This helps protect the ingredients from light and keeps them potent.
Now you’re ready to embrace your beautiful, youthful skin!
Share your creation with friends and enjoy the sense of community that comes from crafting something amazing together.
Application Techniques for Maximum Effectiveness
To achieve the best results from your DIY serum, it’s essential to apply it correctly. Start with a clean, dry face. Dispense a small amount of serum onto your fingertips—remember, a little goes a long way!
Gently warm the serum between your fingers before applying it to your skin. Use upward, circular motions, focusing on areas where wrinkles are most pronounced. This technique not only helps with absorption but also promotes circulation, giving your skin a healthy glow.
Don’t forget to include your neck and décolletage; they deserve some love too! Allow the serum to absorb fully before layering any other products.
To enhance effectiveness, consider following up with a gentle massage or tapping motions to stimulate your skin. By connecting with your skincare routine, you’ll not only feel more confident but also foster a sense of belonging in the community of those who prioritize self-care.
Scientific Benefits of Each Ingredient
Understanding the scientific benefits of each ingredient in your DIY serum can elevate your skincare routine even further.
When you know what’s in your serum, you can truly appreciate its power in erasing wrinkles.
- Hyaluronic Acid: This superstar ingredient hydrates your skin by holding up to 1,000 times its weight in water.
You’ll notice a plump, youthful appearance almost instantly.
- Vitamin C: Known for its brightening properties, Vitamin C also combats free radicals.
It boosts collagen production, helping to reduce fine lines and improve skin texture.
- Retinol: A derivative of Vitamin A, retinol accelerates cell turnover.
It smooths out wrinkles and enhances skin’s elasticity, making you feel rejuvenated and confident.